The steps to connect raspberrypi to
Windows pc using an ethernet is described here. Once the connection is setup
you can use your laptop's keyboard and monitor to connect to pi. cool :)
The steps assume that raspberrypi already has internet connectivity via wifi.
1) Windows LAN properties setting
Open Windows LAN properties
On Networking >IPv4 >
Check the follwing--
Obtain an IP address automatically
Obtain a DNS server address automatically
2) SSH to
Raspberrypi from Windows
Luckily SSH is enabled by default in Rasbian Jessie 4.4. First
download PuTTY from here.Just
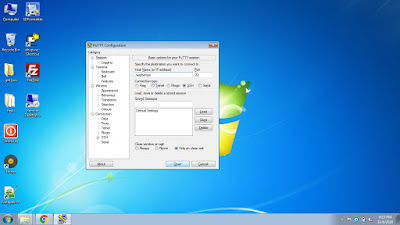
double click the putty.exe to run PuTTY.
Enter the following in the PuTTY window
host name : raspberrypi
port : 22
Leave all other setting in their default values.
click open
3) Find the
raspberry pi's IP
On the terminal type
hostname
-I
## The first ip listed is the ethernet ip and the second one is of the wifi on pi
Note down the ip of the ethernet
connection
4) Install and
configure VNC server on pi
To install VNC server on raspberrypi on the terminal type
sudo apt-get update
sudo apt-get update
sudo apt-get
install tightvncserver
vncserver
:1 ##launch vnc server on pi
You will have to
set the password for the connection.
In case you forget the password use sudo vncpasswd to change vnc password. :)
Now lets configure pi a bit -
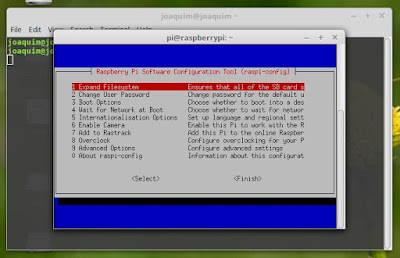
sudo raspi-config
Go to Advanced
options >VNC >enable ## enable VNC server
5) Launch VNC server on Raspberrypi boot
To configure for VNC server auto start
as a service when the Pi boots up:
Open any text editor in pi (nano/vi) to
create a file to auto start Tight VNC Server
sudo nano /etc/init.d/tightvncserver
Type in the following in the file :
#!/bin/bash
### BEGIN INIT INFO
# Provides:
tightvncserver
# Required-Start: $syslog
# Required-Stop: $syslog
# Default-Start: 2 3 4 5
# Default-Stop: 0 1 6
# Short-Description: vnc server
# Description:
#
### END INIT INFO
#!/bin/sh
# /etc/init.d/tightvncserver
# Set the VNCUSER variable to the name
of the user to start tightvncserver under
VNCUSER='pi'
case "$1" in
start)
su $VNCUSER -c
'/usr/bin/tightvncserver :1'
echo "Starting
TightVNC server for $VNCUSER"
;;
stop)
pkill Xtightvnc
echo "Tightvncserver
stopped"
;;
*)
echo "Usage:
/etc/init.d/tightvncserver {start|stop}"
exit 1
;;
esac
exit 0
Press Ctrl+x, then Y to save the file
Edit the permissions of this file to make it executable and active
sudo chmod 755 /etc/init.d/tightvncserver
sudo update-rc.d tightvncserver defaults
sudo reboot
6) Download and configure VNC viewer for Windows
Download VNC viewer from here.
Double click the downloaded exe file to launch vnc viewer.
File>New connection
Enter the IP of Pi (obtained from step 3) followed by :1
If pi's Ip is 169.254.1.193, we enter 169.254.1.193:1
After pi reboot in
step 5 you need to again find the pi's IP (steps 2-3)
If an error message comes up enter the ip as
169.254.1.193:5901
Now go to expert
tab of the connection and change ColorLevel from pal8 to full.
Click OK
Double click the
connection created.Please be patient...
Enter vnc password created in step 4 when prompted.
And there you are on pi.........


No comments:
Post a Comment